Way to Use Start Menu Troubleshooter on Windows 10
The comeback of Start Menu is the spotlight of Windows 10, however, it fetches its own share of issues and troubles. The Start Menu works wonder but the most compelling trouble is that it refuses to launch even when the users try a couple of ways to open it.
For More info read: How to Troubleshoot Start Menu on Windows 10
In the long run, users have also complained about Start Menu search not responding. Well, the issues are not limited to this, as in some cases, the lives tiles turned plain. Some also experienced Start Menu arriving randomly for no logic and reason.
However, in the meantime, the team has delivered a repair tool to settle down most of the regular issues of Start Menu.
When you run the repair tool, it scans if the required applications, for instance, Microsoft.Windows.Cortana and Microsoft.Windows.ShellExperienceHost applications are installed accurately. Along with this, it also scans the permission matters with registry keys.
Given these points, if the repair tool detects any mess, it fixes it instantly.
How to Use Start Menu Troubleshooter
Step 1 - To begin with, click on this link and the repair tool will start downloading.
Step 2 - To run the repair tool, double-click the file termed as startmenu.
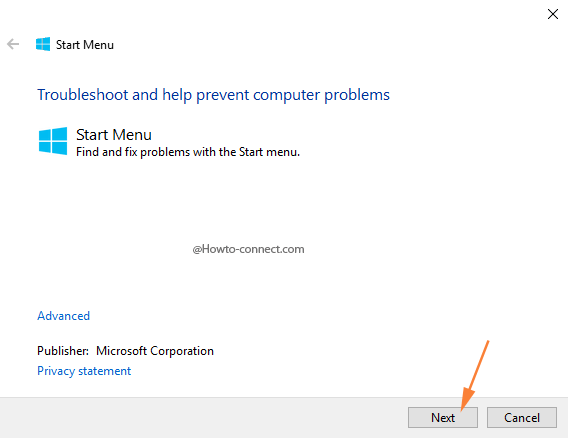
Step 3 - Once the repair tool is launched, click or hit the Next button. This will permit the troubleshooter to initiate its search for Start Menu issues.

Step 4 - If there exists any mess with the Start Menu, it will be detected in the first place and the tool will fix it instantly.
Step 5 - Now, if no issues are detected, you will receive a note that reads as Troubleshooting couldn’t identify the problem.


No comments:
Post a Comment